***I’VE UPDATED THIS RECIPE!! New and Improved recipe here😉
Sooooo I’ve been pretty M.I.A. recently with quite a surge of craziness in work and life (the good stuff) but I’m back now and ready to eat and cook and make beautiful things just for the sake of making them, no paychecks attached (tho I do love a good paycheck;)
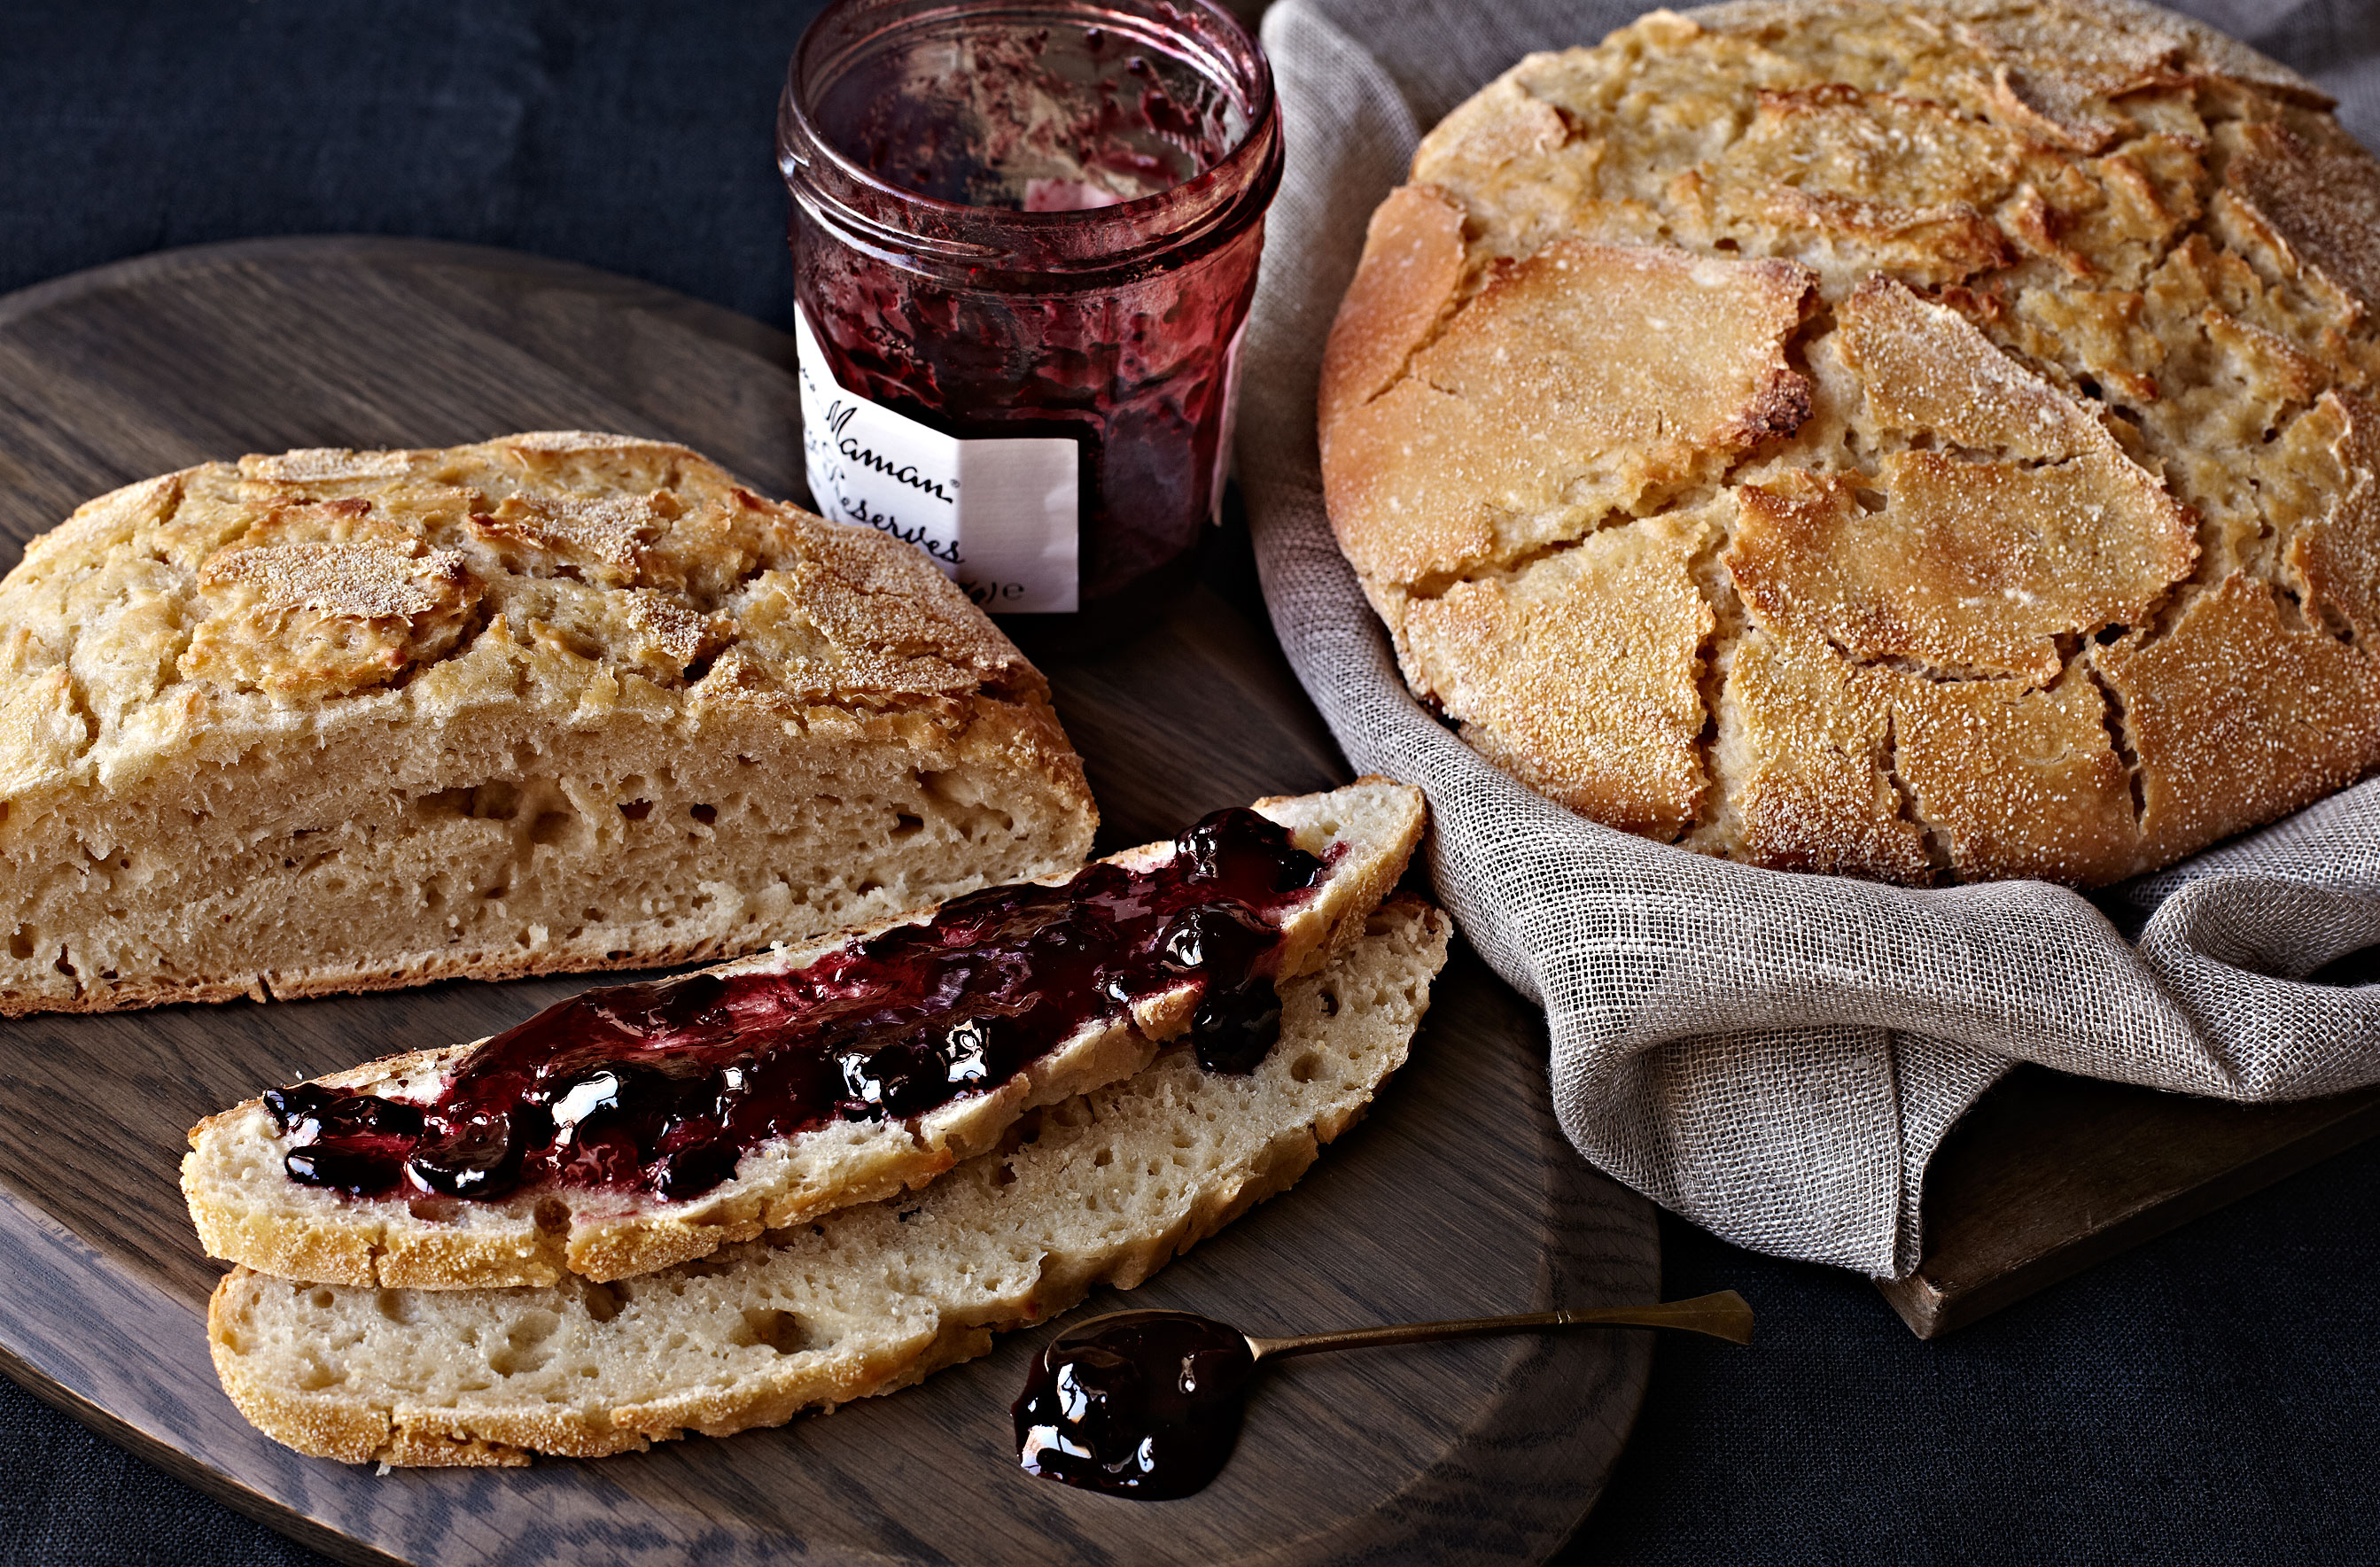
As you’ve heard me say a time or two, I don’t like baking. Flour makes me crazy, which hasn’t been much of a problem since I’ve been gluten-free for a couple years. I simply found that gluten really upsets my stomach, like A LOT, so I cut it out despite my love for crusty breads. Fast forward a bit and I read that true traditional sourdoughs with a long fermentation period can often be tolerated by people who would normally be intestinally torn up by bread. This bread is a long, overnight fermentation and no-knead in the style made famous by Jim Lahey.
I was dubious and didn’t want to get my hopes up BUT I was also getting pretty desperate because, a bit of news from the Cartier house, I’m pregnant with a little girl (our first! yay!) and the first trimester “quesies” had me really missing things like bread! When I feel sick, I just want toast. Toast, toast and more toast! Not to mention it’s an easy “meal” that anyone can make you when you’re trying to calm your (adorable?) baby belly. I call this sickly sensation “swamp belly” as it felt like miserable, bubbling guts. Our ultrasound at the time showed the baby looking like a little gummi bear so I affectionately dubbed her the “sour gummi” when she made me horribly sick. Now in my second trimester, she’s no longer sour but the experience did make me try this bread making method which totally WORKED!!! I know everyone is different, but this bread gives me no digestive problems whatsoever. If I try sourdoughs out at restaurants or from the store they still make me really miserable (couldn’t be easy right?), so it’s lucky that this is a pretty simple, passive recipe so that I can have bread on hand daily.
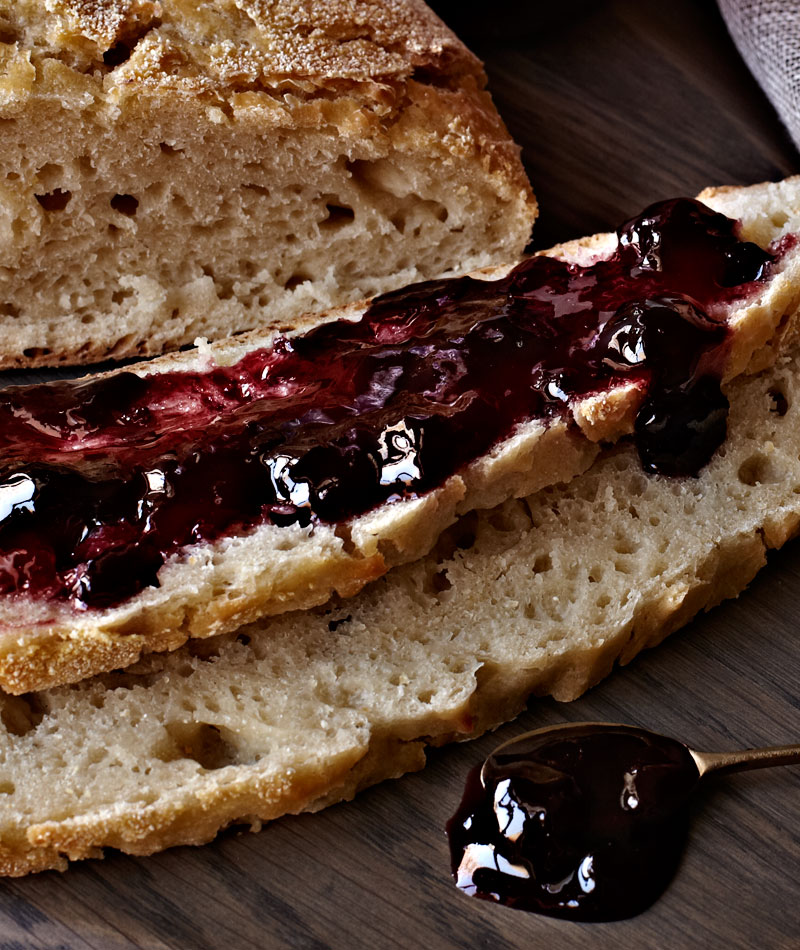
I make several loaves, slice them up, throw them in freezer ziplock bags and freeze only taking slices out when I want them. You’ll have to toast those frozen slices but they toast up beautifully! This recipe makes a bit of a flatter loaf with a nice crust and a chewy, flavorful inside. I’m SOOOO happy to have bread back in my life:D
If you give it a try, let me know how it works for you!
- 3 cups flour (scoop and sweep method)
- ½ cup fed sourdough starter
- 1-1/4 cups warm water (filtered or bottled, tap water is chlorinated which kills the bacteria in the sourdough)
- 2 teaspoons sea salt
- Mix the starter in the bowl with the warm water. Add flour and salt and mix until all of the flour is incorporated. The dough will be shaggy but not crumbly. Work the dough as little as possible.
- Cover the bowl with plastic wrap and a clean towel. Leave in a warm place to rise overnight (12-18 hours). This long rise replaces kneading and also allows the bacteria to sour the dough and improve the bread's digestibility.
- The next day, dust a work surface and the dough very generously with more flour, folding the sides in to form a loaf. Dust your towel with cornmeal and place the loaf seam side down onto the towel. Dust the top of the loaf with more cornmeal and fold the towel loosely around the dough. Allow to rise until doubled, about 3-4 hours.
- A half hour before the 2nd rise is complete, preheat the over to 425 degrees WITH the cast iron dutch oven inside (including the lid). This allows the cast iron to completely get up to temperature.
- Carefully place the dough seam side up into the dutch oven, this dough will be a bit slack so work gingerly. Replace lid and bake for 25 minutes. Remove lid and bake for 13-15 minutes more until the top is nicely browned and crusty.
- Remove and let cool completely before cutting. You can slice and freeze loaves in advance, taking individual slices out and toasting them as you want them.
[…] previously posted my no-knead sourdough bread recipe and, while that bread was absolutely delicious, I was always frustrated by the deflated, […]