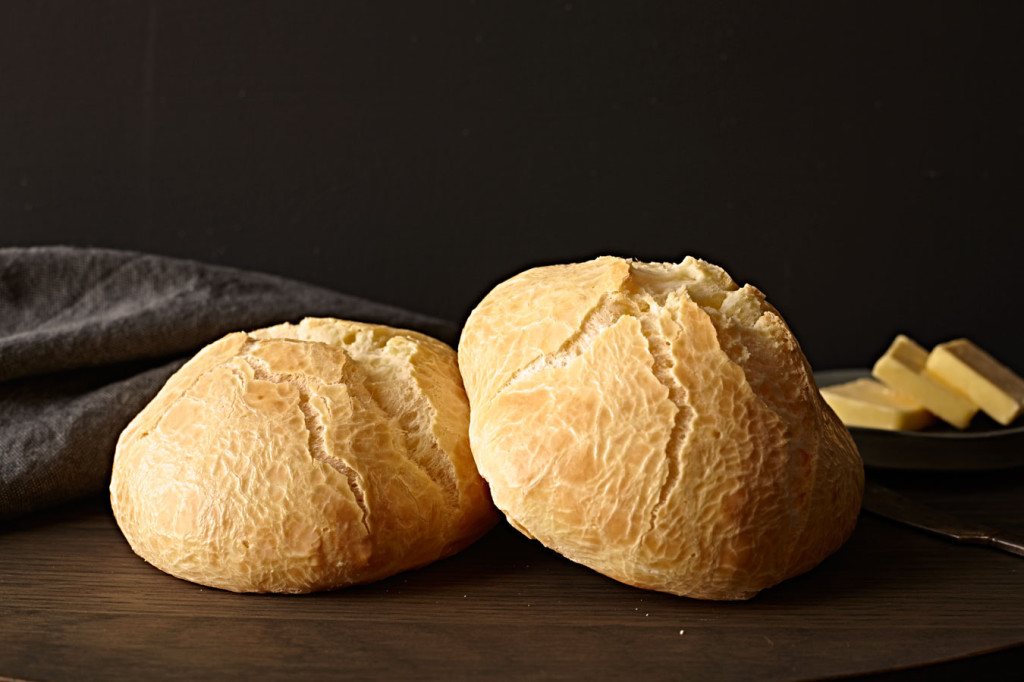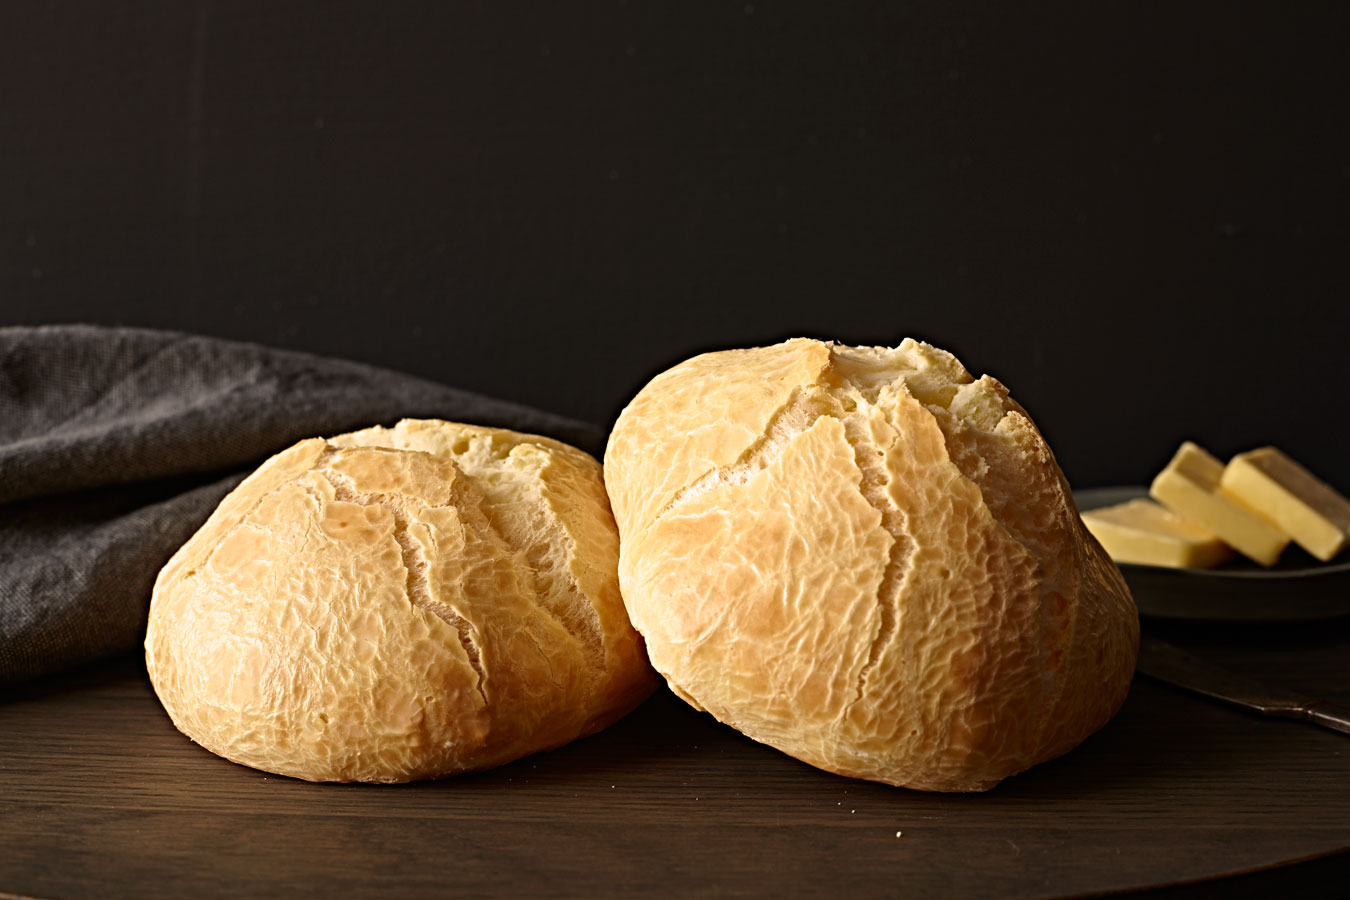
Since giving up gluten to make my guts happy, I’ve tried plenty of gluten-free breads and confections. Some have been downright terrible (truly an affront to the senses!) while others have so many gums in them I end up with “bubble guts” for days. Mostly I just avoid substitutes entirely and stick with foods that never had flour in them to begin with. But sometimes, just sometimes I daydream of a crusty baguette to dip into a rich Coq Au Vin or a toasted roll slathered in butter and honeycomb. A friend introduced me to Against the Grain’s breads and they were delicious. Expensive but tasty and with real ingredients (no gums!! Hooray!). Lately I haven’t been able to get my hands on any of their products so that is where this recipe comes in. It’s a slight adaptation from this one from Gluten Free on a Shoestring. From what I understand, her recipes are usually spot on but I just could not get it to work for the life of me and it seems like I wasn’t alone. Here is the adaptation that made these babies…
ps: this recipe is tapioca based so it has a crusty outside and slightly chewy inside. Lovely:)
pps: the brand of tapioca flour matters. I use Vitacost brand with great success (Bob’s Red Mill was a fail). Gluten free on a Shoestring also recommends Authentic Foods and nuts.com brand, which I have not personally used.
- 2½ cups (Vitacost brand) tapioca flour
- 1¼ cups (tamped on counter) shredded low-moisture mozzarella cheese
- 3 Tablespoons liquid coconut oil
- 2 eggs, room temperature and beaten
- ½ teaspoon sea salt
- ½ cup + 2½ Tablespoons milk (I believe this is around 5 oz but don't have a scale)
- Put first 5 ingredients in a food processor with the steel blade. Turn on then add milk very slowly while machine is running. Turn off machine and scrape down sides if necessary. Process until dough is smooth ( around 2.5 minutes in my Cuisinart). The dough will be quite slack and sticky.
- Set a large piece of plastic wrap on top of a baking sheet. Sprinkle with more tapioca flour. Scrape dough onto it and freeze until firmer for about 10 minutes.
- Unwrap dough and divide into 6 equal parts. Use wet hand to shape the dough into rounds. Note that this dough does not have a lot of spread so you'll want to shape them into a real round, not a ball. Place equidistant on a baking sheet and freeze for another 10 minutes.
- Preheat oven to 375 degrees while you wait.
- Remove from freezer and bake in center of oven for 20 minutes. Then quickly cut a small slit on the top of each roll for steam release and bake for another 10 minutes or so until golden. Note* these won't get super golden like regular bread.
- Remove and let cool completely. Eat fresh or slice in half, wrap individually in plastic wrap and freeze. Defrost for 30 minutes then toast in oven.

What is the purpose of cutting a small slit in the bread to release steam? What happens if you don’t?
Hi Stephanie! I’ve found that it allows the dough to rise properly in the oven:)
In this kind of recipe, the steam is what provides the rise, so you need it to be there while the bread is baking. However, if you don’t release the steam toward the end of the baking, there will be too much moisture, and the crust won’t be crispy and nice. This same method is used for cream puffs and such.
Absolutely, Stephanie! If you don’t release the steam in this recipe you’ll end up with a roll the shape of a cream puff! If the steam isn’t releases in time it puffs into a sphere. Ha! Have a wonderful day:)
I had a hard time from her recipe as well. Now I am going to try your version. I hope it works for me because I just love the Against product but, paying the price at the store is a bit much for what actually goes into making these.
Sincerely, Karen
I hope it worked out a bit better for you this time around! I agree, I love the product line but can’t justify the price point. Happy baking:)
You need to be sure to process the dough in the food processor for at least 3 minutes to emulsify the dough…and I bake mine a lot longer too I have found that they puff up at the very end of baking..in the last five minutes! Sometimes 40 + minutes. Once, I forgot about them and they baked for almost an hour! ( Maybe more) I thought that I had ruined them! My husband said ” this is the BEST batch yet!”
How interesting! I’ve overprocessed the dough having it in the food processor that long. Hmmmmm. The cheese heated and the dough sort of seized up. I haven’t tried lengthening the bake time because I haven’t had any trouble with rise but will keep that in mind. Isn’t that funny that the best batch was a happy accident?! Such is life. Thanks for sharing the tips about what’s been working for you!!
I half-supervised my 13 year old while she made these and they turned out perfectly. Thank you SO much for sharing your recipe.
Hi there! I’m so glad to hear that!!! It was a tough recipe to figure out so it makes me SO happy that it worked so well for you and your daughter:)
Hi, These look wonderful. I plan to try them in a day or so. Will these stay fresh a few days? I am looking for some kind of bread I can take on a road trip next summer that will stay soft and edible for 3 or 4 days without turning out stiff or dry like most gluten free breads do. I don’t mind warming them up or toasting them at home, but that isn’t always an option on a road trip. Otherwise, do you know of another bread option that would work better?
Hi Linda, I hope you love them! I would say that they probably would not keep so well though I haven’t tried keeping them fresh myself. I usually eat a couple fresh then slice and freeze the rest. I totally understand that toasting is not an option on the road. I’ve driven clear across country many times and it’s challenging not to have easily kept food. Honestly, I can’t think of any gluten-free bread off-hand that would stay fresh at room temp over several days, especially if kept in a car which is even warmer.
As far as homemade treats go, these “cookies” are not bread but rather a nutritious and insanely yummy two-bite snack or breakfast https://theeclectickitchen.com///2015/12/08/nutritious-gluten-free-lactation-cookies/. Don’t be thrown by the “lactation” part of the title, it’s just a snack full of healthy fats and awesomeness! Have a great trip!
I’m going to have to try this recipe next time. I love GFOAS’s recipes *when they turn out* but I have a hard time getting them right. I feel like they’re dependent on having her exact kitchen conditions, which I definitely don’t. Oh well. This batch of rolls will do but they’re not as good as they should be. I’ll post later this week when I try your version!
I love her recipes too, which is why this one was frustrating for me! Would love to hear how this version works for you!! 🙂
I just found this. GFOAS rolls just would not come out right. I have high hopes for these. Thanks
I hoped they worked out beautifully for you! Me too, I tried so hard but eventually just had to adapt to this recipe:)
what can I use in place of the cheese if I have to avoid dairy as well?
Hi! Honestly the cheese is more of a replacement for the gluten in this recipes so I can’t think of a cheese replacement. The cheese becomes the binder here, which is how the bread gets that stretchy quality despite the lack of gluten.
I followed the recipe to a tee, but the dough was quite runny. I’m not sure where I went wrong but I had to freeze it for a much longer period of time just to be able to handle it and shape it into rolls. But when they went into the oven, the rolls spread like crazy and are very flat and wide. Any tips?
Aw what a bummer! I’ve made this dough more times than I can count and I’ve never had that experience. The dough should be quite slack before freezing but definitely not runny and they shouldn’t spread much at all. Perhaps try slowly adding milk until it reaches the consistency it should. Are you using low-moisture mozzarella as well? Hmmmm….
yep! low-moisture mozarella. Maybe it was too much milk? I will give it another go and add the milk slowly until I get the slack texture you describe without it going runny. thanks!
Have you ever tried making these I to baguettes? I buy the baguettes to make croutons (they are amazing!) But they are expensive and I’d like to make them myself. The rolles have too much crust, I think for croutons. Although, I’m excited to try the rolls for eating!
Hmmm I haven’t but I don’t see why they wouldn’t work in a baguette shape. I would never have thought to try to make croutons out of them because of the chewy center. How interesting! If it works well please let me know:)