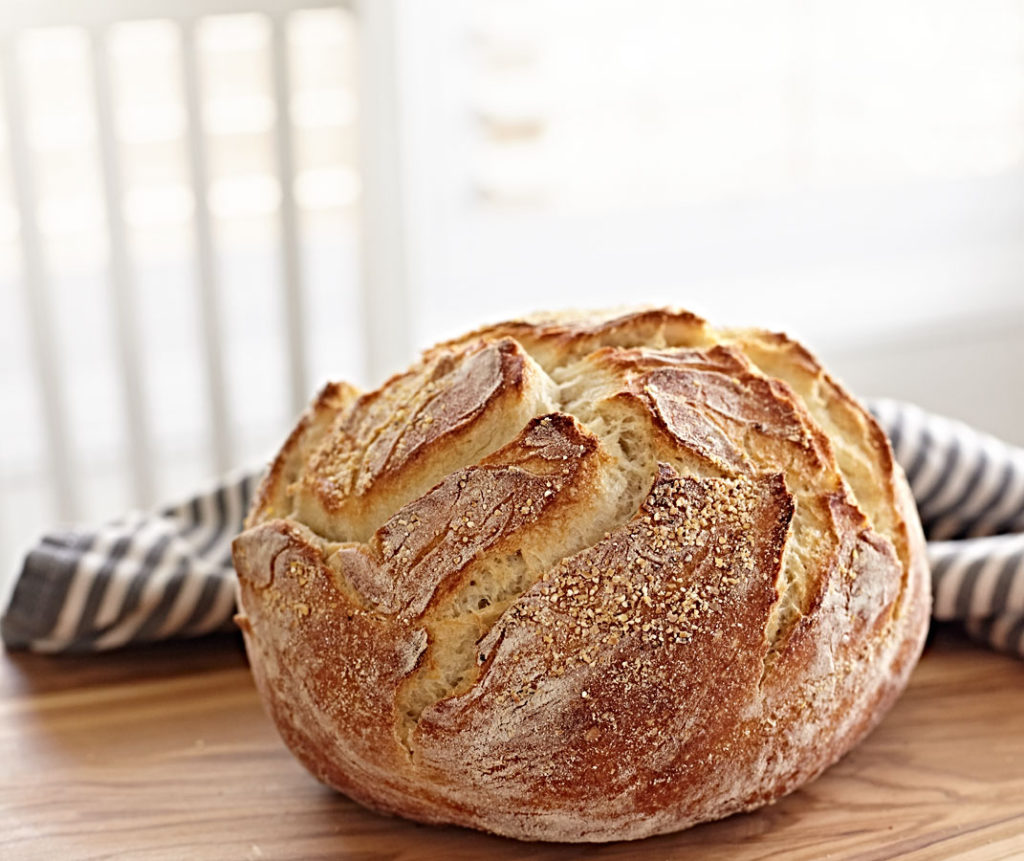
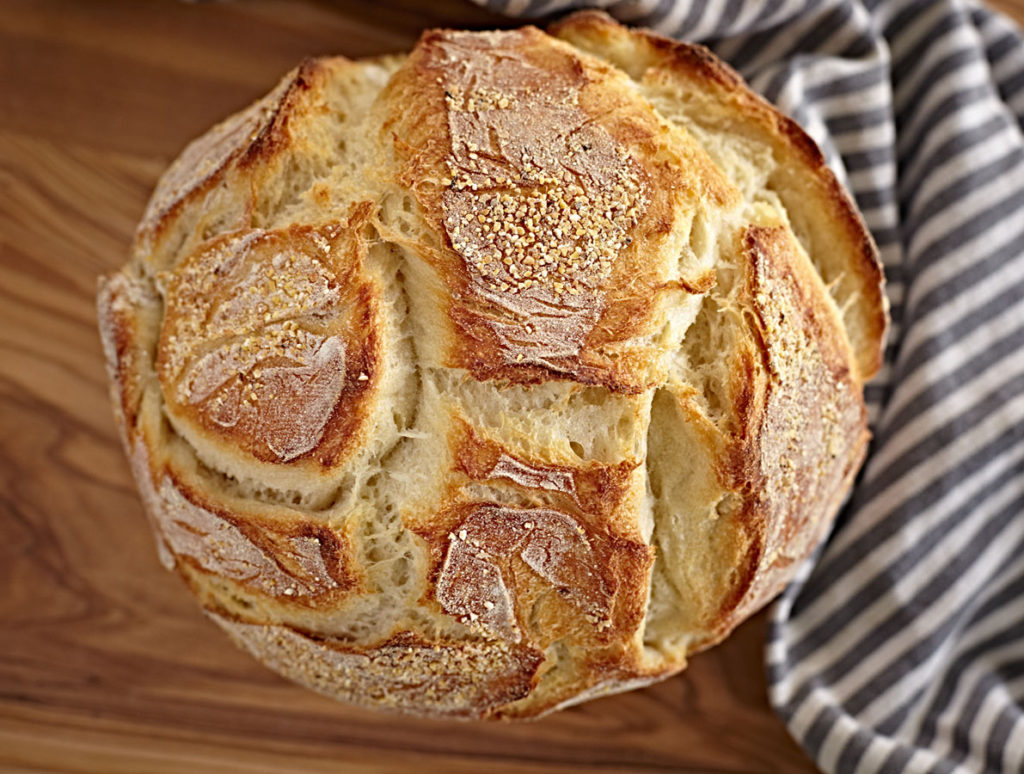
I previously posted my no-knead sourdough bread recipe and, while that bread was absolutely delicious, I was always frustrated by the deflated, flat nature of the resulting loaf. I craved airy, tall, crisp edged bread for all my efforts (though if you like denser bread the previous recipe can’t be beat)! I researched like crazy and found the only solution people seem to use is to add yeast to the mix to facilitate the rise. Ugh. Since I make this bread so the fermentation process can consume and reduce the gluten in the flour, I wanted to keep the recipe pure using just the sourdough starter. After much trial and error, I found a few solutions that I think are key to success and here is the updated recipe for that as well as some concise tips and instructions on caring for your starter. Having these quick details in one place makes it so much easier!
I also started using a rattan proofing basket which seems to help with dough spread. It’s a cheap and easy way to improve your bread and makes it loads cleaner and easier when dumping the dough into dutch oven. The dutch oven is a non-negotiable tool as it’s essential to the technique.
Let me know what you think!
Ps: The timing on this works very well if you let it ferment overnight and proof and bake in the morning (on a non-work day;)

- ~ 1½ cups filtered water (more or less, depending on the hydration level of your starter)
- ¼ cup sourdough starter at 100% hydration
- 3½ cups all-purpose flour (OR 2 cups all-purpose and 1 1/2 cup stone ground whole wheat - my fave blend)
- 2 tsp. salt
- Dissolve starter in a large bowl into warm or room temperature filtered water. If you have a very wet/hydrated starter, you may use slightly less water to prevent the dough from becoming too slack and falling flat. Experiment to see what exact amount of water works best with your starter's hydration level.
- Add flour and salt and stir until combined. If your dough is firmer it helps to use your hands but try to handle the dough as little as possible. The dough should be shaggy but not crumbly.
- Cover the bowl with plastic and let sit at room temperature for 10-18 hours. If your house is warmer (say above 72 degrees) you'll probably want to ferment on the shorter end of the spectrum and if your house is cooler it may take longer for your dough to ferment and rise to its peak. To give you an idea, in the summer my house is around 78 degrees and 10-11 hours works perfectly with my starter. This is the process of souring the bread and the long ferment allows the bacteria in the starter to improve the bread's digestibility. If your house is quite cold, you can put the covered dough in the oven with just the oven light on to facilitate rise. Fermentation is done when the dough has doubled in size.
- Generously flour or cornmeal (my favorite option and best if looking to reduce gluten content) a work surface and scrape the dough onto the surface. Gently spread out the dough with your hands as if you were making a large rectangular pizza. Then fold the dough into thirds like a letter and then in half so it forms sort of a square. Cover loosely with plastic and let it rest for 15 minutes.
- Lift the dough and gently form into a ball. Transfer to a proofing basket generously floured or sprinkled with cornmeal. Cover basket with a towel and let rise for an hour and a half. When this rise is done the dough should not easily spring back when poked with your finger.
- A half hour before the second rise is complete, preheat the oven to 450 degrees WITH the lidded dutch oven inside to preheat it also.
- Turn the dough upside down from the proofing basket into the dutch oven. Cover and bake 25 minutes.
- Uncover and bake an additional 5-10 minutes until crust is crisped and lightly brown.
- Let cool completely on rack before slicing. ENJOY!!!
Sourdough STARTER Tips:
I refrigerate my starter so I don’t have to constantly feed it and waste flour. Instructions on caring for a starter can be confusing and lengthy. Here are some concise tips and instruction.
~ Feed refrigerated starter weekly. Feed starters kept at room temperature daily (see why I refrigerate?).
~ Feed refrigerated starter the night before baking (or 8-10 hours before you plan to begin making bread) and leave out at room temp. Use desired amount of starter then feed the starter again, cover loosely, and return to fridge.
~ RATIOS: 1 cup starter “EATS” 2 cups flour and 1 cup warm or room temp filtered water. This makes your starter 100% hydrated. If your starter is too runny (VERY hydrated) use less water and vice-versa. Of course you don’t need to keep 1 cup of starter. I generally do 1/4 cup starter with 1/2 cup flour and 1/4 cup water.
~ TO FEED: discard, share, or use (see pancake recipe below) all but 1/4 cup starter. Mix starter with 1/4 cup warm or room temp water filtered water (un-chlorinated). Add 1/2 cup flour and stir until incorporated. Cover loosely (leave out at room temp for a bit if you feel your starter needs more vigor) and return to fridge. I usually store my starter in a mason jar with this lid loosely on.
*BONUS RECIPE*
SOURDOUGH STARTER PANCAKES!
These are AWESOME and very flexible! At night when I mix my dough to make bread, I actually put all of the extra starter in a bowl, measure it and feed it and also let it sit overnight so I have a good amount of starter for pancakes in the morning. All measurements are approximate and can be adjusted easily
- ~2 cups starter (again this is very forgiving)
- milk to thin batter (can be up to 1 cup depending on thickness of starter so use your own discretion)
- 1 teaspoon vanilla
- 1 teaspoon sea salt
- 1 teaspoon baking soda
- 1 Tablespoon sugar (optional)
- Coconut oil to cook the pancakes
- Maple syrup, of course!
- Heat a large skillet over medium low heat. Once the skillet is hot, add coconut oil to coat.
- Mix starter and milk together first to thin starter into a workable batter. Then stir in vanilla, salt, baking soda and sugar until combined. Batter should be of average thickness. If batter is too thick, thin it slightly with more milk.
- Spoon a few Tablespoons batter into oiled and heated skillet. Just like regular pancakes, flip when the top bubbles. Serve and top with maple syrup. They are fantastic with fresh berries as the tart berries compliment the sourness of the pancakes and sweetness of the syrup perfectly!
- ***These keep great in the fridge and toasted in a toaster when craving the most delicious pancakes!

[…] toast points for serving (omit for gluten-free or use gluten-reduced no knead bread) […]